Chandelier Porch Light


Patience is a must when owning an old home and following a budget. Tending to the 'container' must have priority over the content. Repairs, restorations and replacements come first, while decoration and beautification are a distant second. But sometimes, it's nice to break the rule and indulge in aesthetic improvements even though it's not a priority.

For a while now, I've been keeping an eye open for a porch light. Something old with some 'oomph'. Then I found it, a beautiful chandelier, Plaire on Etsy – Thank you, Shealagh, for great customer service.

Don't know much about this piece. It's not Victorian, but it has the spirit. The unusual flattened shape makes it perfect for where it will hang since the box on the ceiling is close to the wall. The chandelier is an unexpected choice, but I think it gives the house more whimsy and romance. It had a brown/rust finish, so I spray painted it flat black for an old cast iron look. Pieces such as these trigger my imagination. Its unusual shape makes me wonder where it might have hung in the past. I know I'll be regularly sweeping away the spider webs, but it'll be well worth the effort.

The timid ceiling light to be replaced...
by a more exuberant choice.
Hanging near the little bistro set. 
Inconspicuous wires anchor it in place so it doesn't sway or swing into the glass window.
Lighting to a house is like jewellery on a woman.
Not only does it illuminate the exterior entrance,...
but the interior one as well.
A Happy Thanksgiving to all!

Victorian Kitchen Door

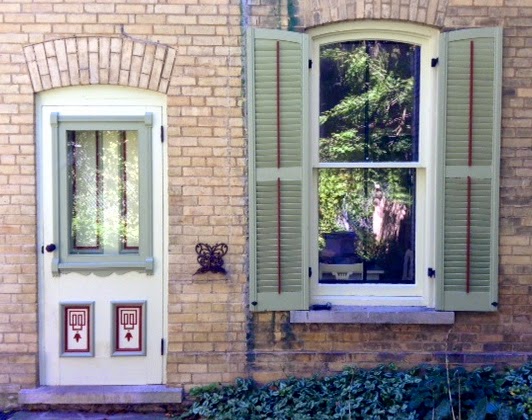
The weather is changing and becoming unreliable for exterior painting projects, but I'm happy that my exterior kitchen door is all painted and back into the swing of things. The interior one can be done later in my studio.


Remember that sad looking door?


It really needed some TLC


Prepped...


primed...


and painted.


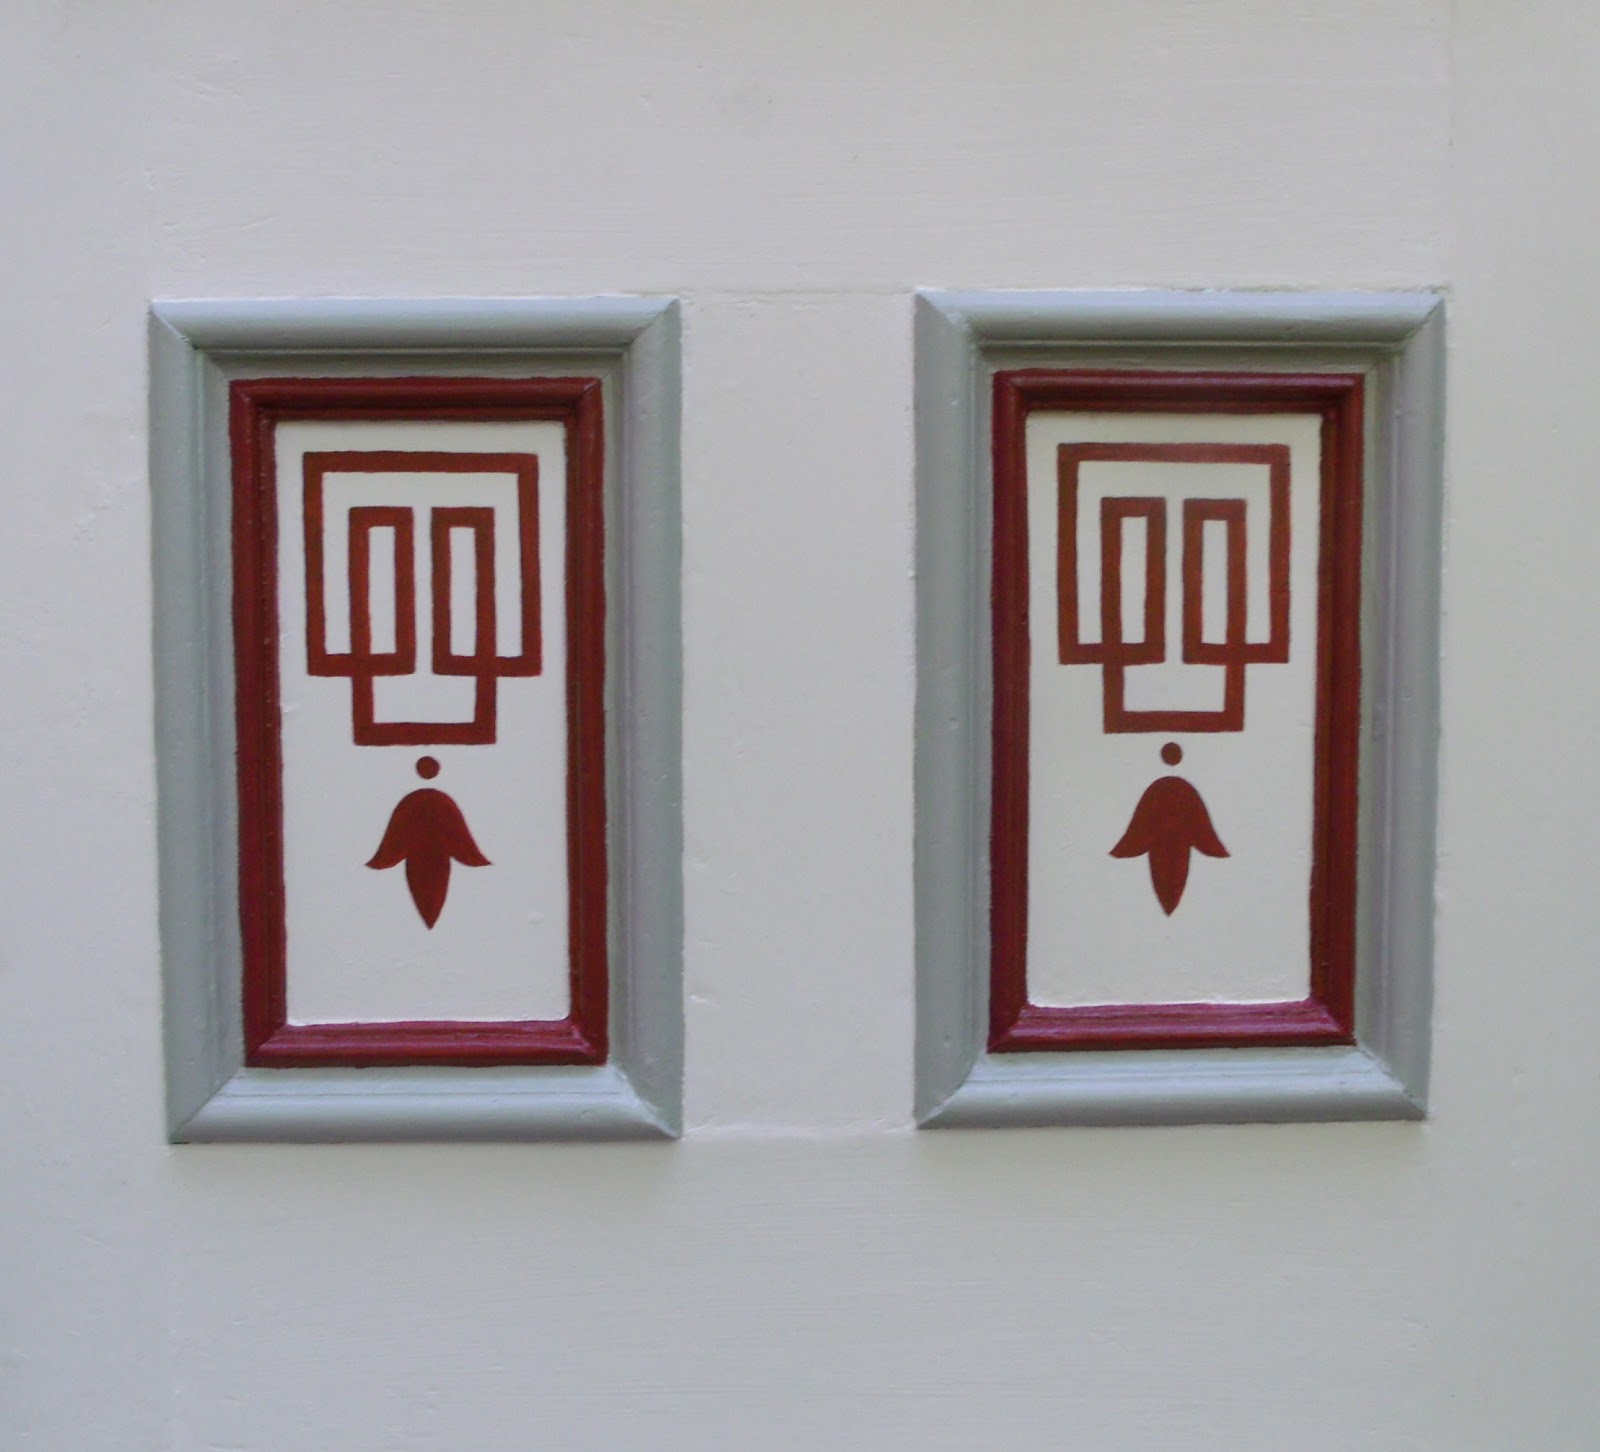
The etched design in my front entrance doors is, once again, a source of inspiration. This time I'm using a different portion of the design. Instead of using the corner patterns, I'm using the central one under the flower pot. Its suits better the rectangle shape found on the kitchen door. To see the post on the front entrance door go here.


After tracing it from the window, I clean it up and transfer it to a thicker paper so I can use it as a template. When the pattern is symmetrical, I only do half and flip it to get a perfect mirror image.


It's now ready to be filled in with my Garnet colour paint.


Voila! Fresh, clean and pretty.


The matte black hardware on the door is consistent with the cast iron shutter hardware. To clean and oil the handle's mechanism makes a huge difference in how it operates now. Not to mention that a complete set of screws really helps. 


The inside of the door is kept clean and simple, only the hardware offers a contrast. I will soon have to remove the screen frame insert and put in the glass one - sigh... summer's almost over.

UP-DATE - Sept 19th, 2014
 The inside door was painted to coordinate with the exterior door...

and the shutters.

Back to my Wrap Around Porch


After painting the floor and ceiling of the porch, I thought I would go back to stripping my kitchen door, but of course I couldn't leave it alone. Those peeling gingerbread spindles were bugging me.


So I proceeded to paint the front portion of the railing along with its pillars. The stair railings and entrance had been done the season before.


The side portion of the porch will be done next season. Now I can go back to my kitchen door - and that will be my last DIY project of this season... I think.